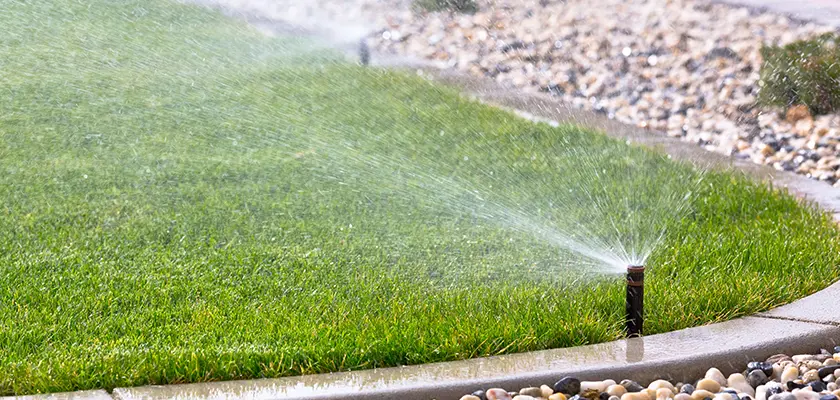
For much of the country, spring is the time of year when you’ll be firing up your lawn sprinkler system for another season of well-maintained greenery.
That’s why it’s essential to check your irrigation system regularly. This allows you to catch any leaks or other issues that might arise before you run it annually. Following these tips can help you maximize the life expectancy of your home sprinkler system, saving you tons of time, trouble, and money in the long run.
Inspecting your system and catching problems early will save you money while helping to ensure your home is surrounded by a lush, healthy landscape throughout summer and rest of the year. When properly maintained, lawn sprinkler systems can last up to 20 years.
Checking your lawn sprinkler system to pinpoint issues is something you can often do yourself. We recommend following our step-by-step guide to make sure your system is ready to keep your lawn looking beautiful.
Select Home Warranty provides coverage for sprinkler systems and more! Call us today at 800-670-8931
to hear about your home warranty options to cover repairs or replacements.
Following these steps will make certain you don’t miss a thing when you’re preparing your lawn sprinkler system for warmer weather.
This one may seem obvious, but some homes have a dedicated water system for their sprinklers. If your sprinkler system runs on its own water supply, double check the meter to make sure it’s on.
To turn on the water supply, twist the valves at the water source counterclockwise. If the water supply uses a ball valve, turn the lever so it’s parallel to the pipe. This allows water to flow through to your sprinklers again.
The backflow device should also be turned on. Not all systems have an isolation valve, but if yours does, make sure this is turned on as well. If this is your first time turning on the system for the year, turn these devices on slowly to prevent damage to the main line.
The leak indicator on your water meter will spin if there are any leaks in your system. If you see this during your inspection, you’ll know that there is an issue somewhere in the line that requires your attention.
Lawn sprinkler controllers and interfaces will be slightly different depending on the make and model. Generally, you can make sure your system is set up correctly for your needs. Next, run each area of your system for a few minutes before completing the next step.
You’ll want to walk around your property to make sure there are no problems. The major things to look for are:
You should also check your valve box and make sure there is no standing water inside. This is a clear sign of a problem in the system.
Inside the drip system, you’ll find the filter for your water line. Make sure this is clean and replace it if needed. Once you’ve checked the filter, find the flush at the end of the drip system and open it. You can run the water for a few minutes to make sure there are no obstructions, then close it again.
Inspecting your lawn sprinkler system before the season begins is essential, but we also recommend regular inspections throughout the year to ensure everything is running smoothly.
Follow our irrigation sprinkler checklist and how to test your sprinkler. | SHW Blog
Give us a call today at Select Home Warranty to hear about our coverage on lawn sprinkler repairs and replacements: 800-670-8931
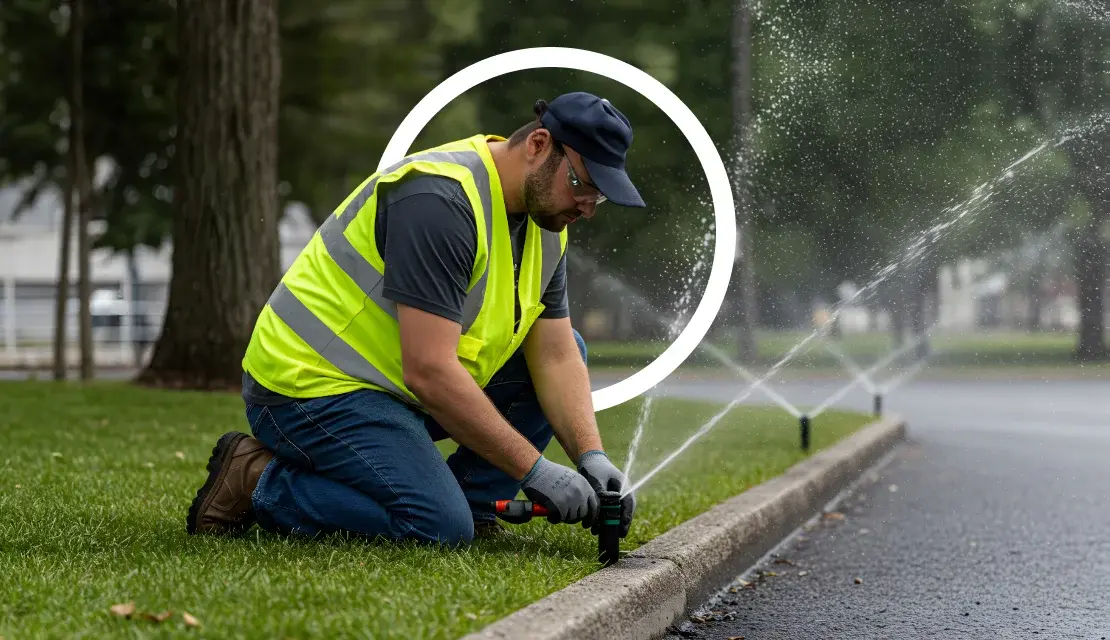
If you find a minor problem with your sprinkler system while completing the above checks, you may be able to take matters into your own hands.
Over time and with regular use, sprinkler heads will become dirty or misaligned. Fortunately, removing the mud and debris that clog sprinkler heads is easy to do on your own.
For most common sprinkler systems, you simply need to turn off the water, dig up the sprinkler head, and disassemble it by turning it counterclockwise to unscrew it. After that, you can clean both the head and the attached screen basket in a bucket of water.
Once finished, reassemble the sprinkler head and test the system. If things still aren’t working, there’s a chance you may need to replace the sprinkler head entirely.
High-quality sprinkler heads tend to need replacement after 10 years or so, meaning you can expect them to stay with you for half of the system’s lifespan. On the other hand, cheaper sprinkler heads may only last two or three years. Depending on the age of your system, a faulty sprinkler head might not be out of the ordinary.
Broken sprinkler heads are often easily identified. You’ll notice damage, chips, and cracks in the plastic casing, uneven water distribution, or a complete failure to function.
If you’re having problems with water pressure, system valves are the first thing you should check. You’ll want to make sure the valves are completely open.
Of course, much like sprinkler heads, valves can also wear over time. Be sure to check for leaks or other damage while inspecting your system. If you’re noticing serious issues, it may be time to call in an expert for professional repair.
Line leaks can be a serious problem for lawn sprinkler systems.
Once you’ve identified a leak, turn off the system and completely. If you feel comfortable in your abilities, you can then cut out or remove the damaged section and fix it using two clamps and a slip coupling. Slide the clamps on the two ends of line, insert the coupling, and then tighten the clamps. Turn the system and water back on to ensure the line is no longer leaking before burying the line again.
You can take a similar approach to repairing any crushed pipes. If you suspect you’re dealing with crushed pipes, start your search near trees and large bushes that may be growing underground around the line. When you find the damaged section, you can replace it with a new one.
We often hear about leaks in pipes and sprinkler heads, but your issue may also involve the water meter, backflow prevention, or main controller. According to HomeGuide, prices range anywhere from $75 to $500 for a repair.
Replacing your sprinkler system can also be expensive, running anywhere from $2,500 upwards of $10,000. This all depends on the size of your property and where you live. As a result, be sure to have a professional to assess the situation before making a hasty or costly decision.
Perhaps this goes without saying, but DIY sprinkler system repairs aren’t for everyone. That’s where a home warranty can save the day!
Not everyone knows home warranties can cover sprinkler systems.
In areas like Winchester, where seasonal changes can put added pressure on outdoor systems, regular inspections become even more important. Homeowners looking for long-term protection often explore home warranty plans in Winchester to stay prepared for unexpected sprinkler repairs.
With a home warranty, you can submit a claim to cover the repair or replacement of home systems in accordance with your terms of service. Naturally, if you have a home warranty through Select, our experts will coordinate a visit from a qualified technician to assess your problem in no time.
The right home warranty can cover your entire lawn sprinkler system, old or new! Get your free quote today and learn how much you can save while defending your home against unexpected breakdowns. You can also give us a call at 800-670-8931.

Don’t wait until it’s too late! Check out our current plans and get your free quote.
Household Tips
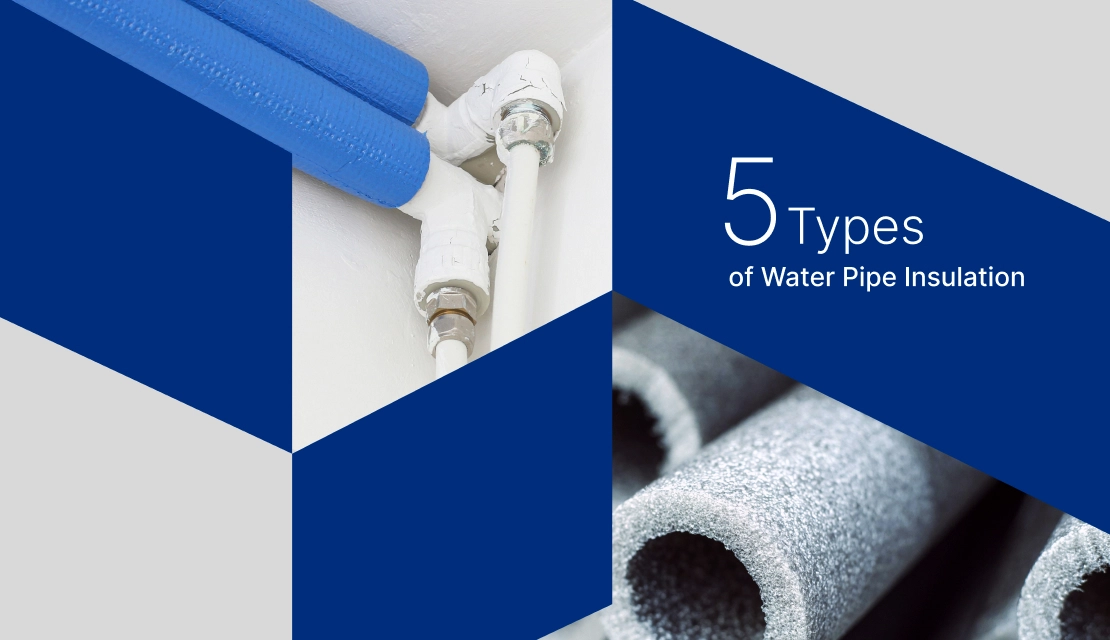
Ever seen a tiny crack flood an entire room? That’s what can happen when you skip water pipe insulation and winter rolls in like it owns the place. It’s not..

Home Warranty
Remote working is more than a trend. For millions of people it is a new way of life. Whether you are a remote employee, a freelancer, or a small-business owner..

Household Tips
The days of the classic, one-size-fits-all fridge are long gone. Now, there are so many types of refrigerators, each packed with unique features, styles, and technology that can completely change..